davinci crib instructions
DaVinci Crib Instructions: A Comprehensive Guide
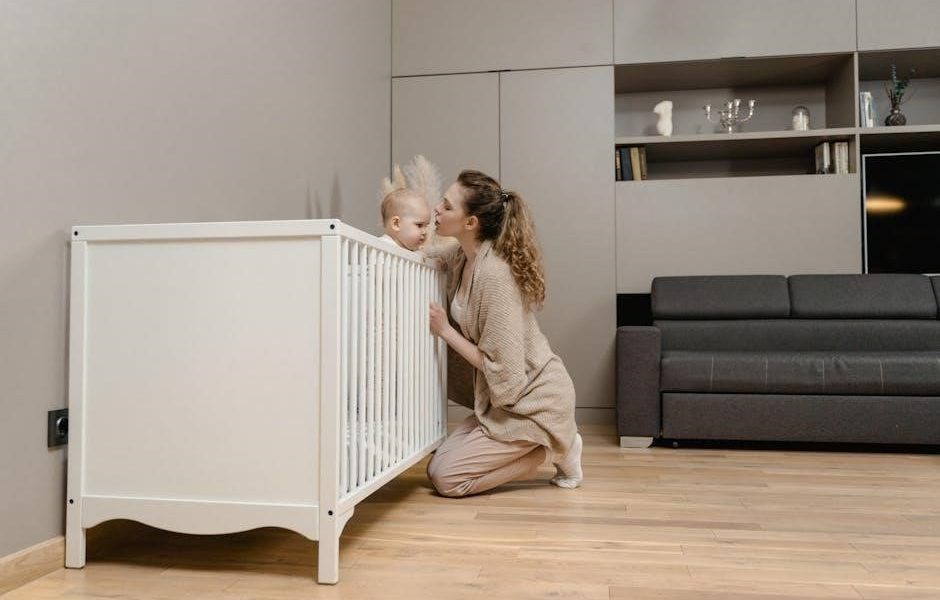
Navigating DaVinci crib assembly requires detailed instructions, readily available online via manuals and videos for models like Charlie, Kalani, and Birdie․
These resources ensure a safe and correct setup, covering all conversion options․
Understanding DaVinci Crib Models
DaVinci offers a diverse range of crib models, each with unique features and conversion capabilities․ Popular choices include the Charlie 4-in-1, known for its classic design and adaptability, and the Kalani 4-in-1, praised for its modern aesthetic․ The Birdie 3-in-1 provides a streamlined, convertible option, while the Autumn 4301 caters to those seeking a traditional style․
Understanding the specific model is crucial before beginning assembly․ Each crib comes with its own instruction manual, often available for download online through resources like Prime Spaces Assembly Services LLC and ManualsLib․ These manuals detail the specific components and steps required for a successful build․ The “4-in-1” designation indicates the crib can typically convert into a toddler bed, daybed, and full-size bed, extending its usability as your child grows․ Knowing your model’s conversion options informs the initial assembly process, ensuring proper setup for future transitions․
Identifying Crib Components
Successful DaVinci crib assembly begins with accurately identifying all included components․ Common parts include the crib frame – consisting of headboards, footboards, and side rails – alongside a mattress support (often labeled ‘IV’ or ‘G’ as seen in Autumn 4301 instructions)․ Hardware packs contain screws, bolts, and potentially Allen wrenches, essential for secure fastening․
Referencing your specific model’s manual is paramount․ The Charlie, Kalani, and Birdie models, while sharing core elements, may have variations in panel shapes or hardware types․ Pay close attention to distinguishing between different screw lengths and bolt sizes․ The mattress support’s adjustability is a key feature; ensure you locate the components allowing for height adjustments, as highlighted in the Autumn instructions emphasizing the lowest level setting for safety․ Proper identification prevents errors and ensures a structurally sound crib, ready for safe infant use․
Tools Required for Assembly
While many DaVinci cribs include essential Allen wrenches within the hardware pack, a more efficient assembly often necessitates additional tools․ A Phillips head screwdriver is almost universally required for securing various components, particularly during frame construction and side rail attachment․ A rubber mallet can be incredibly useful for gently tapping pieces into place, avoiding damage to the finish․
For tightening bolts and ensuring maximum stability, a ratchet set with appropriate socket sizes is highly recommended․ Power drills with adjustable clutch settings can expedite the process, but exercise extreme caution to prevent over-tightening and stripping screws․ A soft cloth or blanket placed beneath the crib during assembly protects the finish from scratches․ Reviewing assembly videos (available for models like Charlie and Kalani) often reveals specific tool usage․ Prior preparation with these tools streamlines the process, minimizing frustration and maximizing safety․

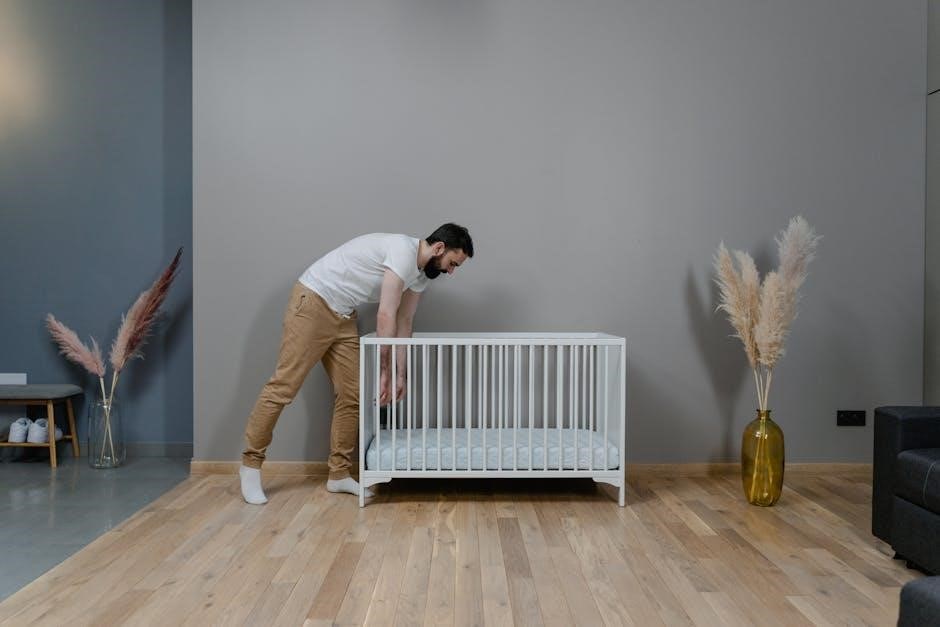
Step-by-Step Assembly Instructions

Begin with the frame, then attach side rails, ensuring proper alignment․ Install the mattress support at the lowest level for infant safety, and finally, secure the back panel․
Assembling the Crib Frame
The initial step involves carefully laying out all frame components – typically headboard, footboard, and side pieces․ Referencing the specific instruction manual for your DaVinci model (Charlie, Kalani, Birdie, or Autumn) is crucial, as designs vary slightly․ Begin by connecting the side pieces to either the headboard or footboard using the provided hardware, ensuring correct orientation as depicted in the diagrams․
Tighten all bolts and screws initially by hand to avoid stripping the threads․ Once all connections are made, use the appropriate tool (often an Allen wrench or screwdriver – check your hardware checklist) to fully secure the frame․ Double-check that all corners are square and that the frame feels stable before proceeding․ A wobbly frame indicates loose connections that need immediate attention․
Pay close attention to any pre-drilled holes or specific alignment indicators on the frame pieces․ These are designed to ensure proper assembly and structural integrity․ Avoid over-tightening screws, as this can damage the wood․ A properly assembled frame forms the foundation for a safe and secure crib․
Attaching the Side Rails
With the crib frame assembled, the next crucial step is securely attaching the side rails․ DaVinci cribs typically utilize a system of bolts, screws, and sometimes locking mechanisms to fasten the rails to the headboard and footboard․ Consult your model’s specific instruction manual (Charlie, Kalani, Birdie, or Autumn) for precise guidance, as attachment methods differ․
Ensure the side rails are aligned correctly with the pre-drilled holes on the frame․ Begin by loosely attaching all connection points before fully tightening any single screw or bolt․ This allows for adjustments and ensures a flush fit․ Once aligned, systematically tighten each fastener, working in a diagonal pattern to distribute pressure evenly․
Verify that the side rails are firmly secured and do not exhibit any wobble or play․ A secure attachment is paramount for the safety of the child․ Regularly re-tighten these connections as needed, especially during the initial weeks of use, to maintain stability․ Proper side rail attachment prevents accidental dislodgement and ensures a safe sleep environment․
Installing the Mattress Support
Once the crib frame and side rails are securely attached, installing the mattress support is a critical safety step․ DaVinci cribs offer adjustable mattress heights, allowing the crib to grow with your child․ Refer to your specific model’s instructions (Charlie, Kalani, Birdie, or Autumn) to identify the correct mattress support components and their corresponding positions․
Typically, the mattress support (often labeled as ‘IV’ or ‘G’ in manuals) is secured using metal brackets and screws․ Ensure the support is positioned at the lowest setting initially, as recommended for newborns – this minimizes the risk of accidental falls․ Align the support with the designated slots or brackets within the crib frame․
Securely fasten the support using the provided hardware, tightening all screws firmly․ Double-check that the support is level and stable before placing the mattress inside․ Regularly inspect the mattress support and its attachments to ensure continued stability and safety as your child grows and you adjust the height settings․
Securing the Back Panel
With the crib frame, side rails, and mattress support properly installed, the back panel provides essential structural integrity and safety․ DaVinci crib models, including the Charlie, Kalani, and Birdie, typically feature a solid or slatted back panel that needs secure attachment․
The back panel is usually affixed using screws or bolts, aligning with pre-drilled holes in the crib frame․ Carefully position the panel, ensuring it’s flush with the frame’s edges․ Begin by loosely attaching the panel at several points before fully tightening each fastener․ This allows for adjustments and ensures proper alignment․
Tighten all screws or bolts firmly, but avoid over-tightening, which could damage the wood․ Regularly inspect the back panel’s attachment points to confirm they remain secure, especially after any crib adjustments or movements․ A properly secured back panel contributes significantly to the overall stability and safety of the DaVinci crib․
Safety Considerations During Assembly
Prioritize verifying all hardware is present and correct, ensuring stability by tightening all connections, and avoiding common errors during DaVinci crib assembly for utmost safety․
Hardware Checklist and Verification
Before commencing assembly, a meticulous hardware checklist is paramount for a safe and structurally sound DaVinci crib․ Carefully unpack all components and cross-reference them with the parts list detailed in your specific model’s instruction manual – whether it’s a Charlie, Kalani, Birdie, or Autumn․
Ensure you have all necessary screws, bolts, wooden dowels, and any specialized hardware unique to your crib’s design․ Pay close attention to the quantity of each item․ Missing parts can compromise the crib’s integrity and pose a safety hazard․ If any components are absent, immediately contact the retailer or DaVinci customer support for replacements․
Don’t proceed with assembly until all hardware is accounted for․ A thorough verification process at the outset saves time and frustration later; Double-check screw sizes and types, as using incorrect hardware can strip threads or weaken joints․ Proper hardware is crucial for a secure and stable crib, safeguarding your child’s well-being․
Ensuring Stability and Tightness
Achieving optimal stability and tightness is critical throughout the DaVinci crib assembly process․ As you connect each component – frame, side rails, and back panel – ensure all screws and bolts are firmly tightened, but avoid over-tightening, which can damage the wood․ Regularly check for wobble or looseness as you progress․
Pay particular attention to the mattress support; the instructions often emphasize locating it at the lowest level initially (as seen with the Autumn model)․ This foundational element must be securely fastened․ After completing each stage, gently rock the crib to assess its stability․ Any movement indicates a need for further tightening or re-evaluation of connections․
Consistent verification of tightness is vital, especially after the initial assembly and periodically thereafter․ A stable crib minimizes the risk of accidental collapse or injury․ Remember, a well-constructed and secure DaVinci crib provides a safe and comfortable sleep environment for your child․
Avoiding Common Assembly Errors

Several pitfalls can occur during DaVinci crib assembly, often stemming from unclear instructions or rushed execution․ A frequent error involves incorrect hardware usage; always cross-reference parts with the provided checklist to ensure you’re using the correct screw or bolt for each connection․ Misinterpreting the assembly diagrams is another common issue, leading to components being attached incorrectly or in the wrong order․
Failing to fully tighten all fasteners is a significant safety concern, resulting in instability․ Conversely, over-tightening can strip screws or damage the wood․ Ignoring the recommended mattress support level (lowest initially, as noted in Autumn instructions) can compromise safety․
Carefully review the manual before starting, and double-check each step․ If encountering difficulty, consult the online video resources available for models like Charlie and Kalani․ Patience and attention to detail are key to avoiding these errors and ensuring a secure, properly assembled crib․

Converting Your DaVinci Crib
DaVinci cribs offer versatile conversions – from toddler beds and daybeds to full-size options, extending usability as your child grows, as seen with models like Charlie and Kalani․
Transitioning to Toddler Bed
Converting your DaVinci crib to a toddler bed is a straightforward process designed to facilitate a smooth transition for your growing child․ Typically, this involves removing one side rail of the crib, creating a safe and accessible opening for the toddler to get in and out independently․
Before initiating the conversion, carefully review the specific instructions for your DaVinci model – Charlie, Kalani, or Birdie – as slight variations may exist․ Ensure you have the necessary conversion kit, if required, and all appropriate hardware․ Prioritize safety by verifying that all remaining components are securely fastened and that there are no sharp edges or potential hazards․
The lowered side allows for increased independence while still providing the familiar comfort of the crib structure․ A toddler mattress, designed to fit snugly within the crib frame, is essential for safety and support․ Regularly inspect the toddler bed configuration to ensure continued stability and security as your child explores their newfound freedom․ This conversion extends the life and functionality of your DaVinci crib, adapting to your child’s evolving needs․
Converting to a Daybed
Transforming your DaVinci crib into a daybed offers a versatile space for rest, reading, or playtime as your child grows․ This conversion generally involves removing both side rails, effectively lowering the sleep surface to the level of the crib’s base․ This creates an open, inviting daybed configuration, perfect for a child transitioning beyond the confines of a traditional crib․
Refer to the specific instructions accompanying your DaVinci model – Charlie, Kalani, or Birdie – as the process may differ slightly․ Ensure all remaining components are securely fastened, and consider adding a soft rug or playmat around the daybed to enhance comfort and safety․ A standard twin-size mattress is typically used for the daybed setup, providing ample space for relaxation․
The daybed configuration extends the usability of your DaVinci crib, offering a stylish and functional furniture piece․ Regularly inspect the daybed for stability and ensure there are no potential hazards․ This conversion provides a comfortable and inviting space for your child to enjoy as they transition into a more independent stage․

Full-Size Bed Conversion Options
Extending the life of your DaVinci crib, converting it into a full-size bed is a popular option, offering long-term value․ This typically requires purchasing a separate full-size bed frame kit specifically designed for your DaVinci model – Charlie, Kalani, or Birdie․ These kits usually include headboards, footboards, and side rails, adapting the crib’s existing structure․
The conversion process involves detaching the crib’s original components and attaching the new bed frame pieces, utilizing the existing crib hardware where possible․ Detailed instructions are crucial; always consult the conversion kit’s manual and your DaVinci crib’s documentation․ Ensure all connections are secure and stable before use․

A standard full-size mattress is required for the completed bed․ This conversion provides a seamless transition as your child grows, maintaining a familiar aesthetic while accommodating their changing needs․ Regularly inspect the bed frame for any signs of wear or loosening, ensuring continued safety and stability throughout its use․

Troubleshooting Assembly Issues
Addressing problems like missing parts or instability is common; replacements are available, and wobbling can often be fixed by re-tightening hardware․ Consult manuals!
Missing Parts and Replacements
Encountering missing components during DaVinci crib assembly is a frustrating, yet relatively common, issue․ Before initiating a replacement request, meticulously re-check all packaging materials – sometimes smaller hardware items are concealed within the protective layers․ Carefully compare the physical parts against the detailed parts list included in your crib’s instruction manual․
If a part is genuinely missing, don’t attempt to substitute with non-DaVinci hardware, as this could compromise the crib’s structural integrity and safety․ Contact DaVinci Baby directly through their official website․ Be prepared to provide your crib model number, purchase date, and a clear description of the missing part․
Most requests are processed quickly, and DaVinci will ship a replacement part free of charge․ Keep your order confirmation and any communication with DaVinci for your records․ Avoid using third-party sellers for replacement parts, as authenticity and compatibility cannot be guaranteed․ Prioritize safety and utilize only genuine DaVinci components․
Addressing Wobbling or Instability
A wobbly or unstable DaVinci crib presents a significant safety hazard and requires immediate attention․ The first step is a comprehensive re-tightening of all screws, bolts, and fasteners․ Ensure each connection point is firmly secured, but avoid over-tightening, which can strip the threads or damage the wood․
Inspect the floor surface; uneven flooring is a frequent culprit․ Use shims under the crib legs to level it, ensuring a stable base․ Verify the mattress support is correctly positioned at the lowest level, as recommended in the assembly instructions – this lowers the center of gravity and enhances stability;
If wobbling persists after these checks, carefully examine the side rails and frame for any signs of misalignment or damage․ Contact DaVinci Baby customer support if you suspect a manufacturing defect or if you are unable to resolve the instability․ Never compromise on safety; a stable crib is paramount for your child’s well-being;

Crib Maintenance and Care
Regular maintenance ensures the longevity and safety of your DaVinci crib․ Routine cleaning involves wiping down all surfaces with a damp cloth and mild, non-toxic cleaner․ Avoid abrasive cleaners or harsh chemicals, as these can damage the finish․ Periodically inspect all hardware – screws, bolts, and slats – for tightness, re-tightening as needed to prevent loosening over time․
Check for any signs of wear and tear, such as cracks or splinters, and address them promptly․ When converting the crib to a toddler bed or other configurations, ensure all new components are securely attached․ Always follow the manufacturer’s instructions for conversions․
Protect the crib from direct sunlight and excessive moisture, which can warp the wood․ A well-maintained DaVinci crib provides a safe and comfortable sleep environment for your child for years to come, offering peace of mind alongside lasting quality․
Leave a Reply
You must be logged in to post a comment.